Why Use a Professional Interiors Photographer?
Why use a professional interiors photographer? It’s a good question. Why pay for a specialist professional interiors and architectural photographer when you can take pretty good images yourself or get your wedding photographer pal to take them, because they’ve got all the kit anyway. Right? Well, I’ve pulled together a few examples from the last few weeks to show you what you’re getting from an experienced professional dedicated to their field.
I’ve tried to demonstrate just a few ways the results can differ. Some of these are taken with lesser quality kit than we use on a day to day basis and other are taken with the same kit from the same place.
Kitchen
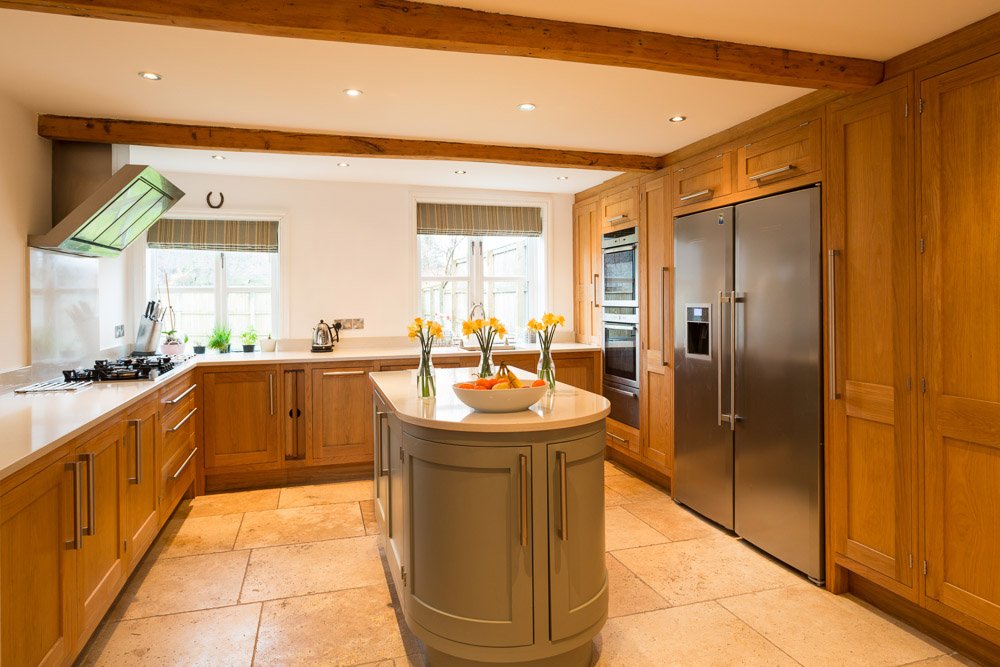
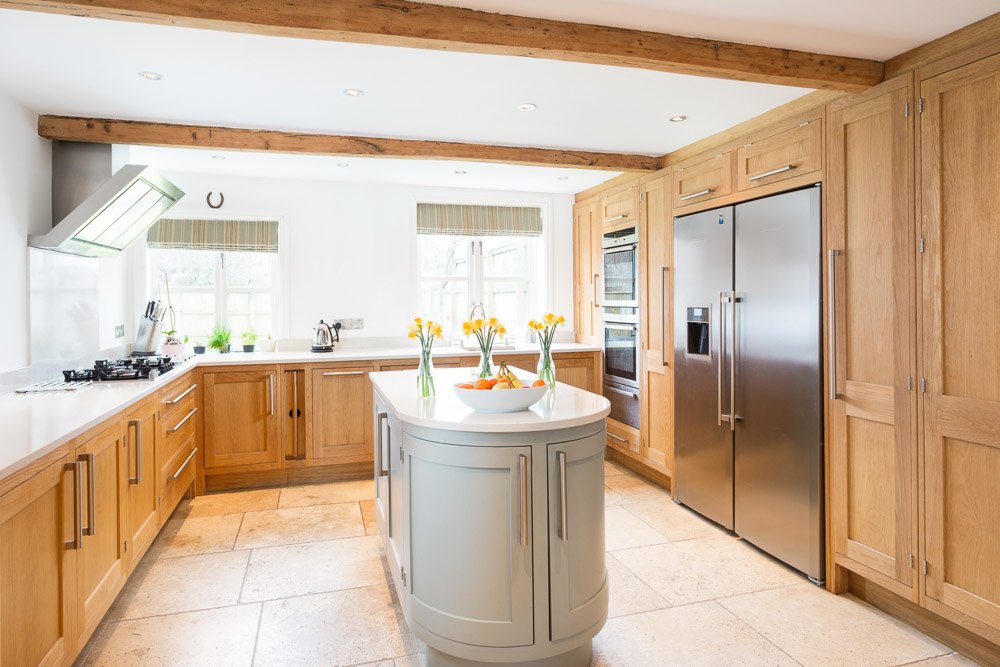
This lovely kitchen makes a good demonstration of how lighting and exposure blending can help transform the space from somewhere dark and somewhat oppressive to a much brighter, more airy space. It’s much easier to imagine baking some hot-cross-buns in the after image than in the before.
Housing Development
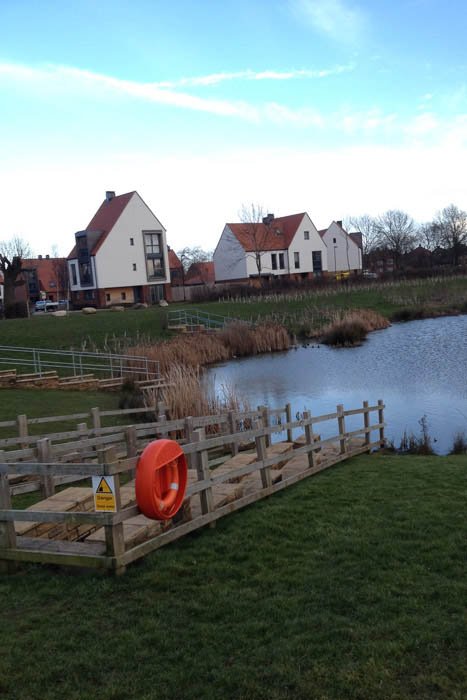
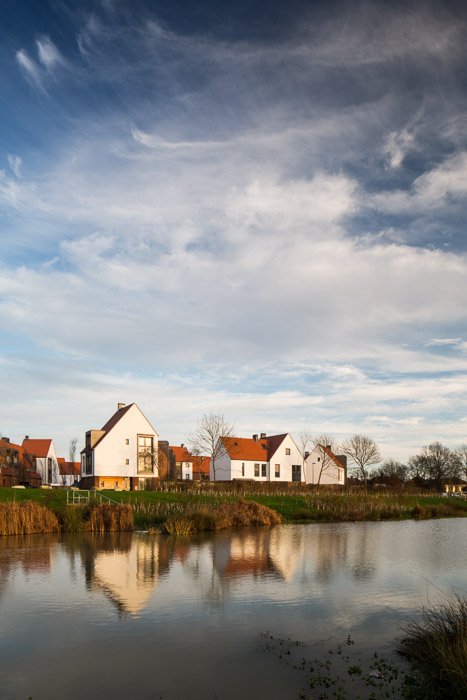
These shots were made within 10 metres of each other. One with an iPhone and the other with a Canon 5k MkIII, 24mm tilt shift lens, Lee polariser and neutral density filter. Our shot benefits from sunshine on the houses which was in and out behind the clouds. We’ve also chosen a composition that omits the life ring, warning sign and minimises the fencing to create a calmer more welcoming location. We’ve also used a lengthened shutter speed and timed our photograph with a lull in the wind to maximise reflections in the water. Finally we made sure everything that was straight in real life is straight in the photograph thanks to greater care and use of a perspective correction lens.
Bathroom
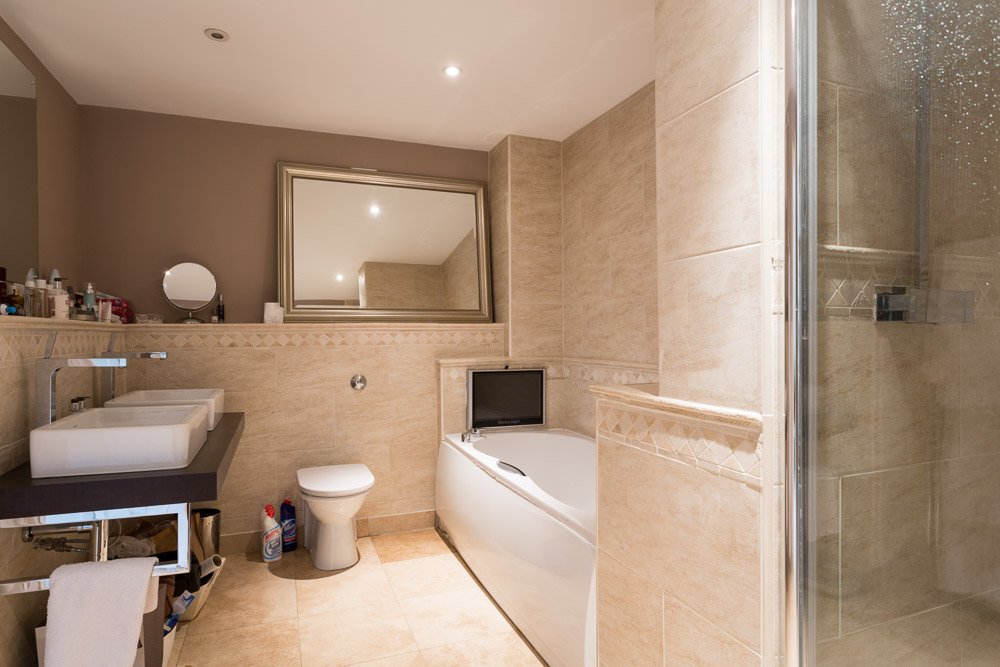
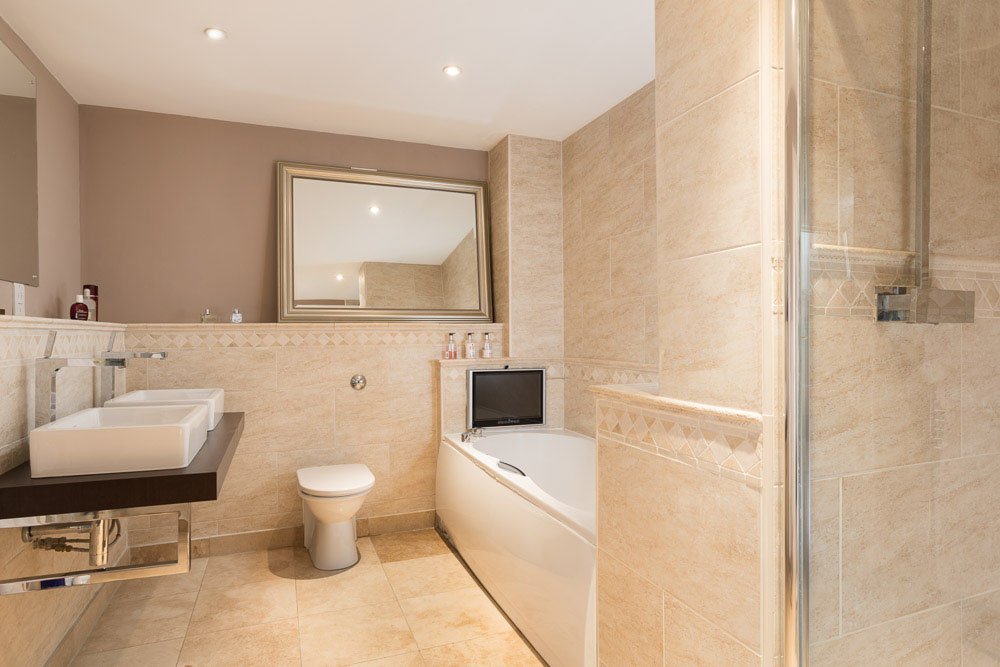
Rooms aren’t usually completely ready to photograph when I arrive. Some things you don’t notice on a day to day basis will completely ruin a photograph, other more minor things can just come across as sloppy – not a way you want potential customer to perceive your business. Experience, both on the job and in the industry will tell you what these things are, how much to remove and most importantly what to keep and/or reposition. Simple tasks such as drying shower screens are often missed but can have a big effect on the quality of the photograph.
Kitchen Composition
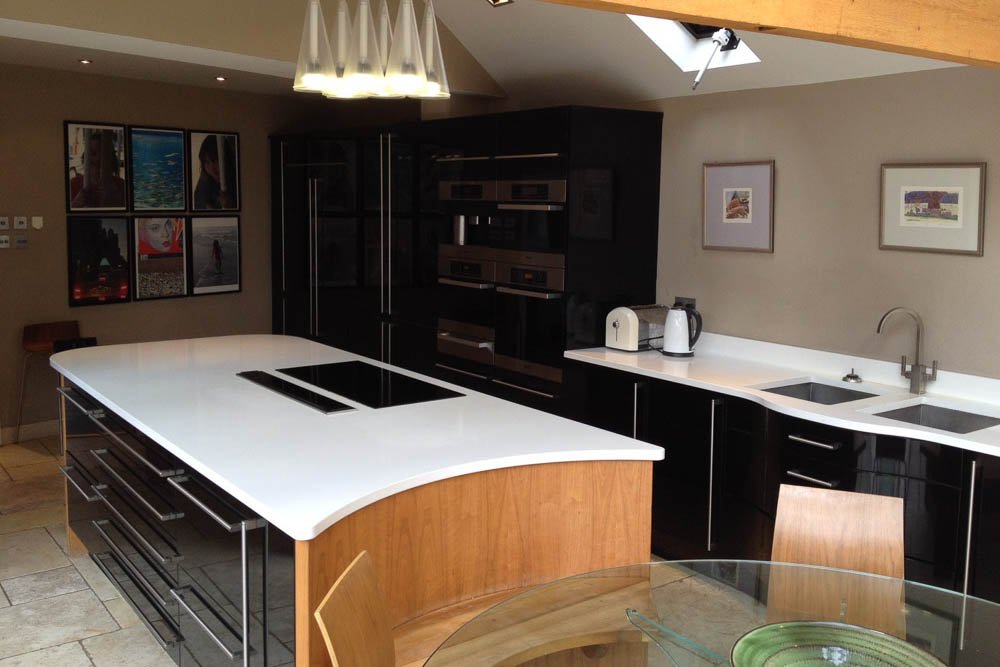
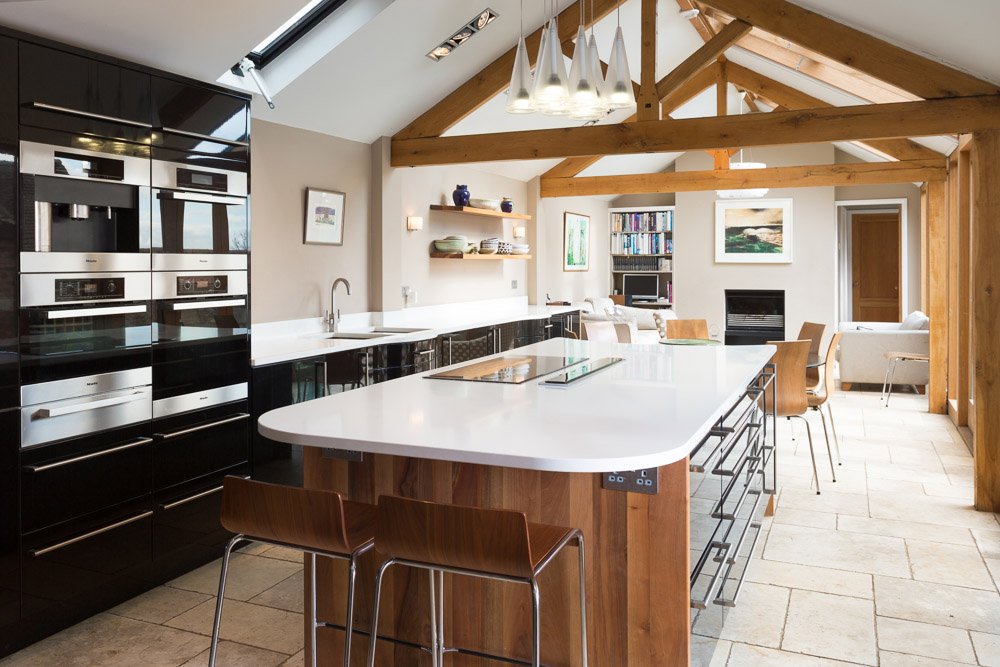
Spaces are three dimensional, photographs aren’t. Rarely will you have an opportunity to take a potential customer to one of your rooms so they can see it in the flesh and most of the time they will make sense of the space through the photographs they see. The before photo above shows a nice kitchen in an okay, if a little dark, room. The after photograph transitions the viewer to a spectacular space and kitchen which shows off all of the room’s assets. Which photograph would you want customers to see?
Bedroom
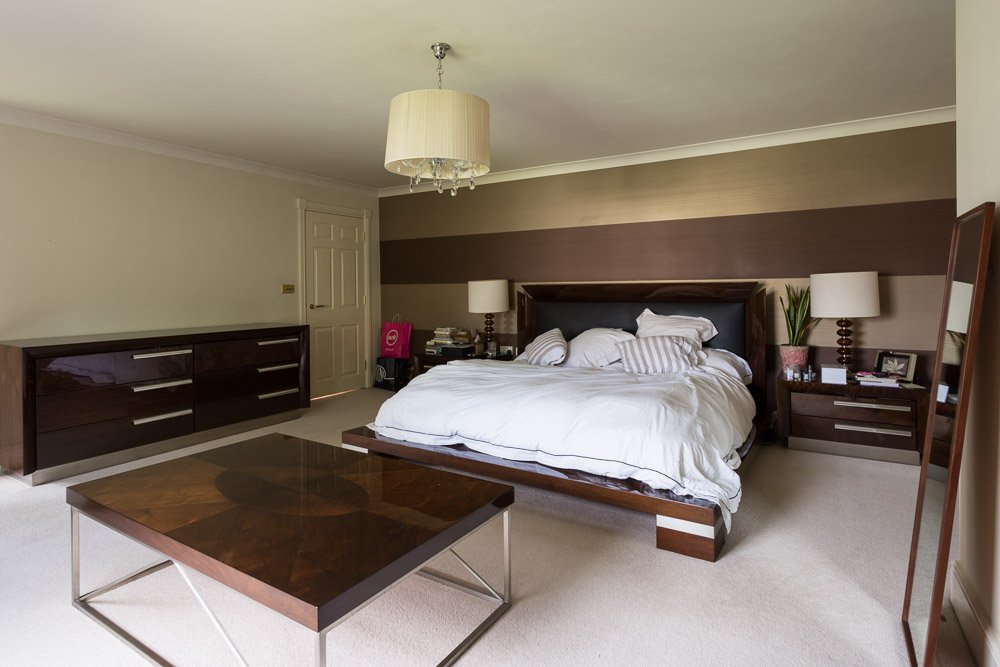
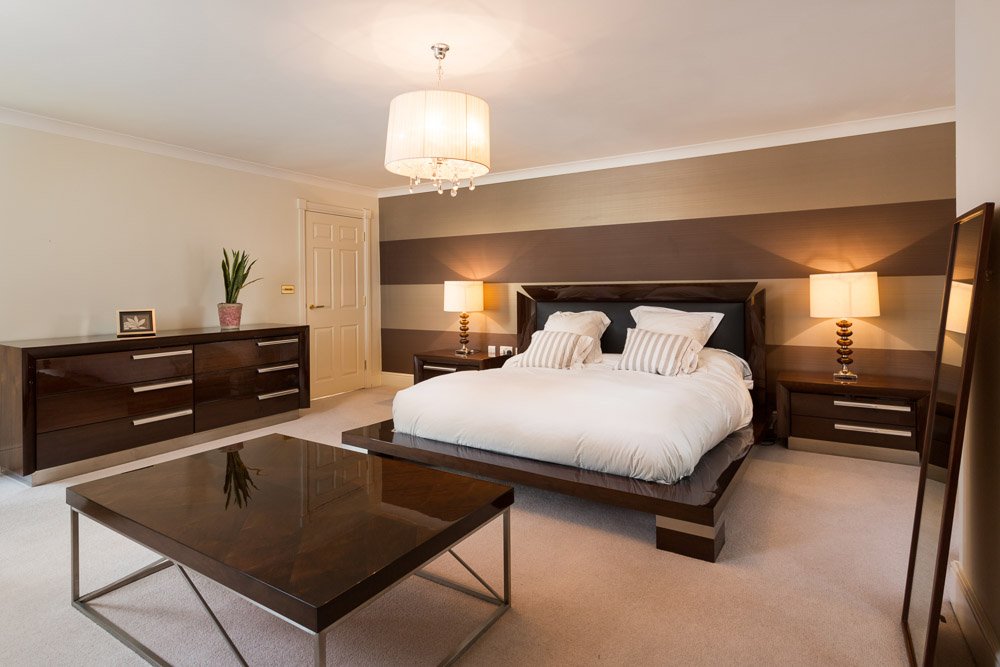
The final example is a before and after of a master bedroom. The first task after agreeing the composition was to remove all the unwanted items from the bedside tables. I then replaced the broken bulbs in the bedside lamps for working ones and turned on the main light to a low setting. The window to my left was creating quite unattractive light so I cut that light out and introduced my own light from further down, supplemented with a few other additional lights around the room, to create atmosphere. Finally I remade the bed and used a couple of items from the bedside tables to dress the drawer unit.